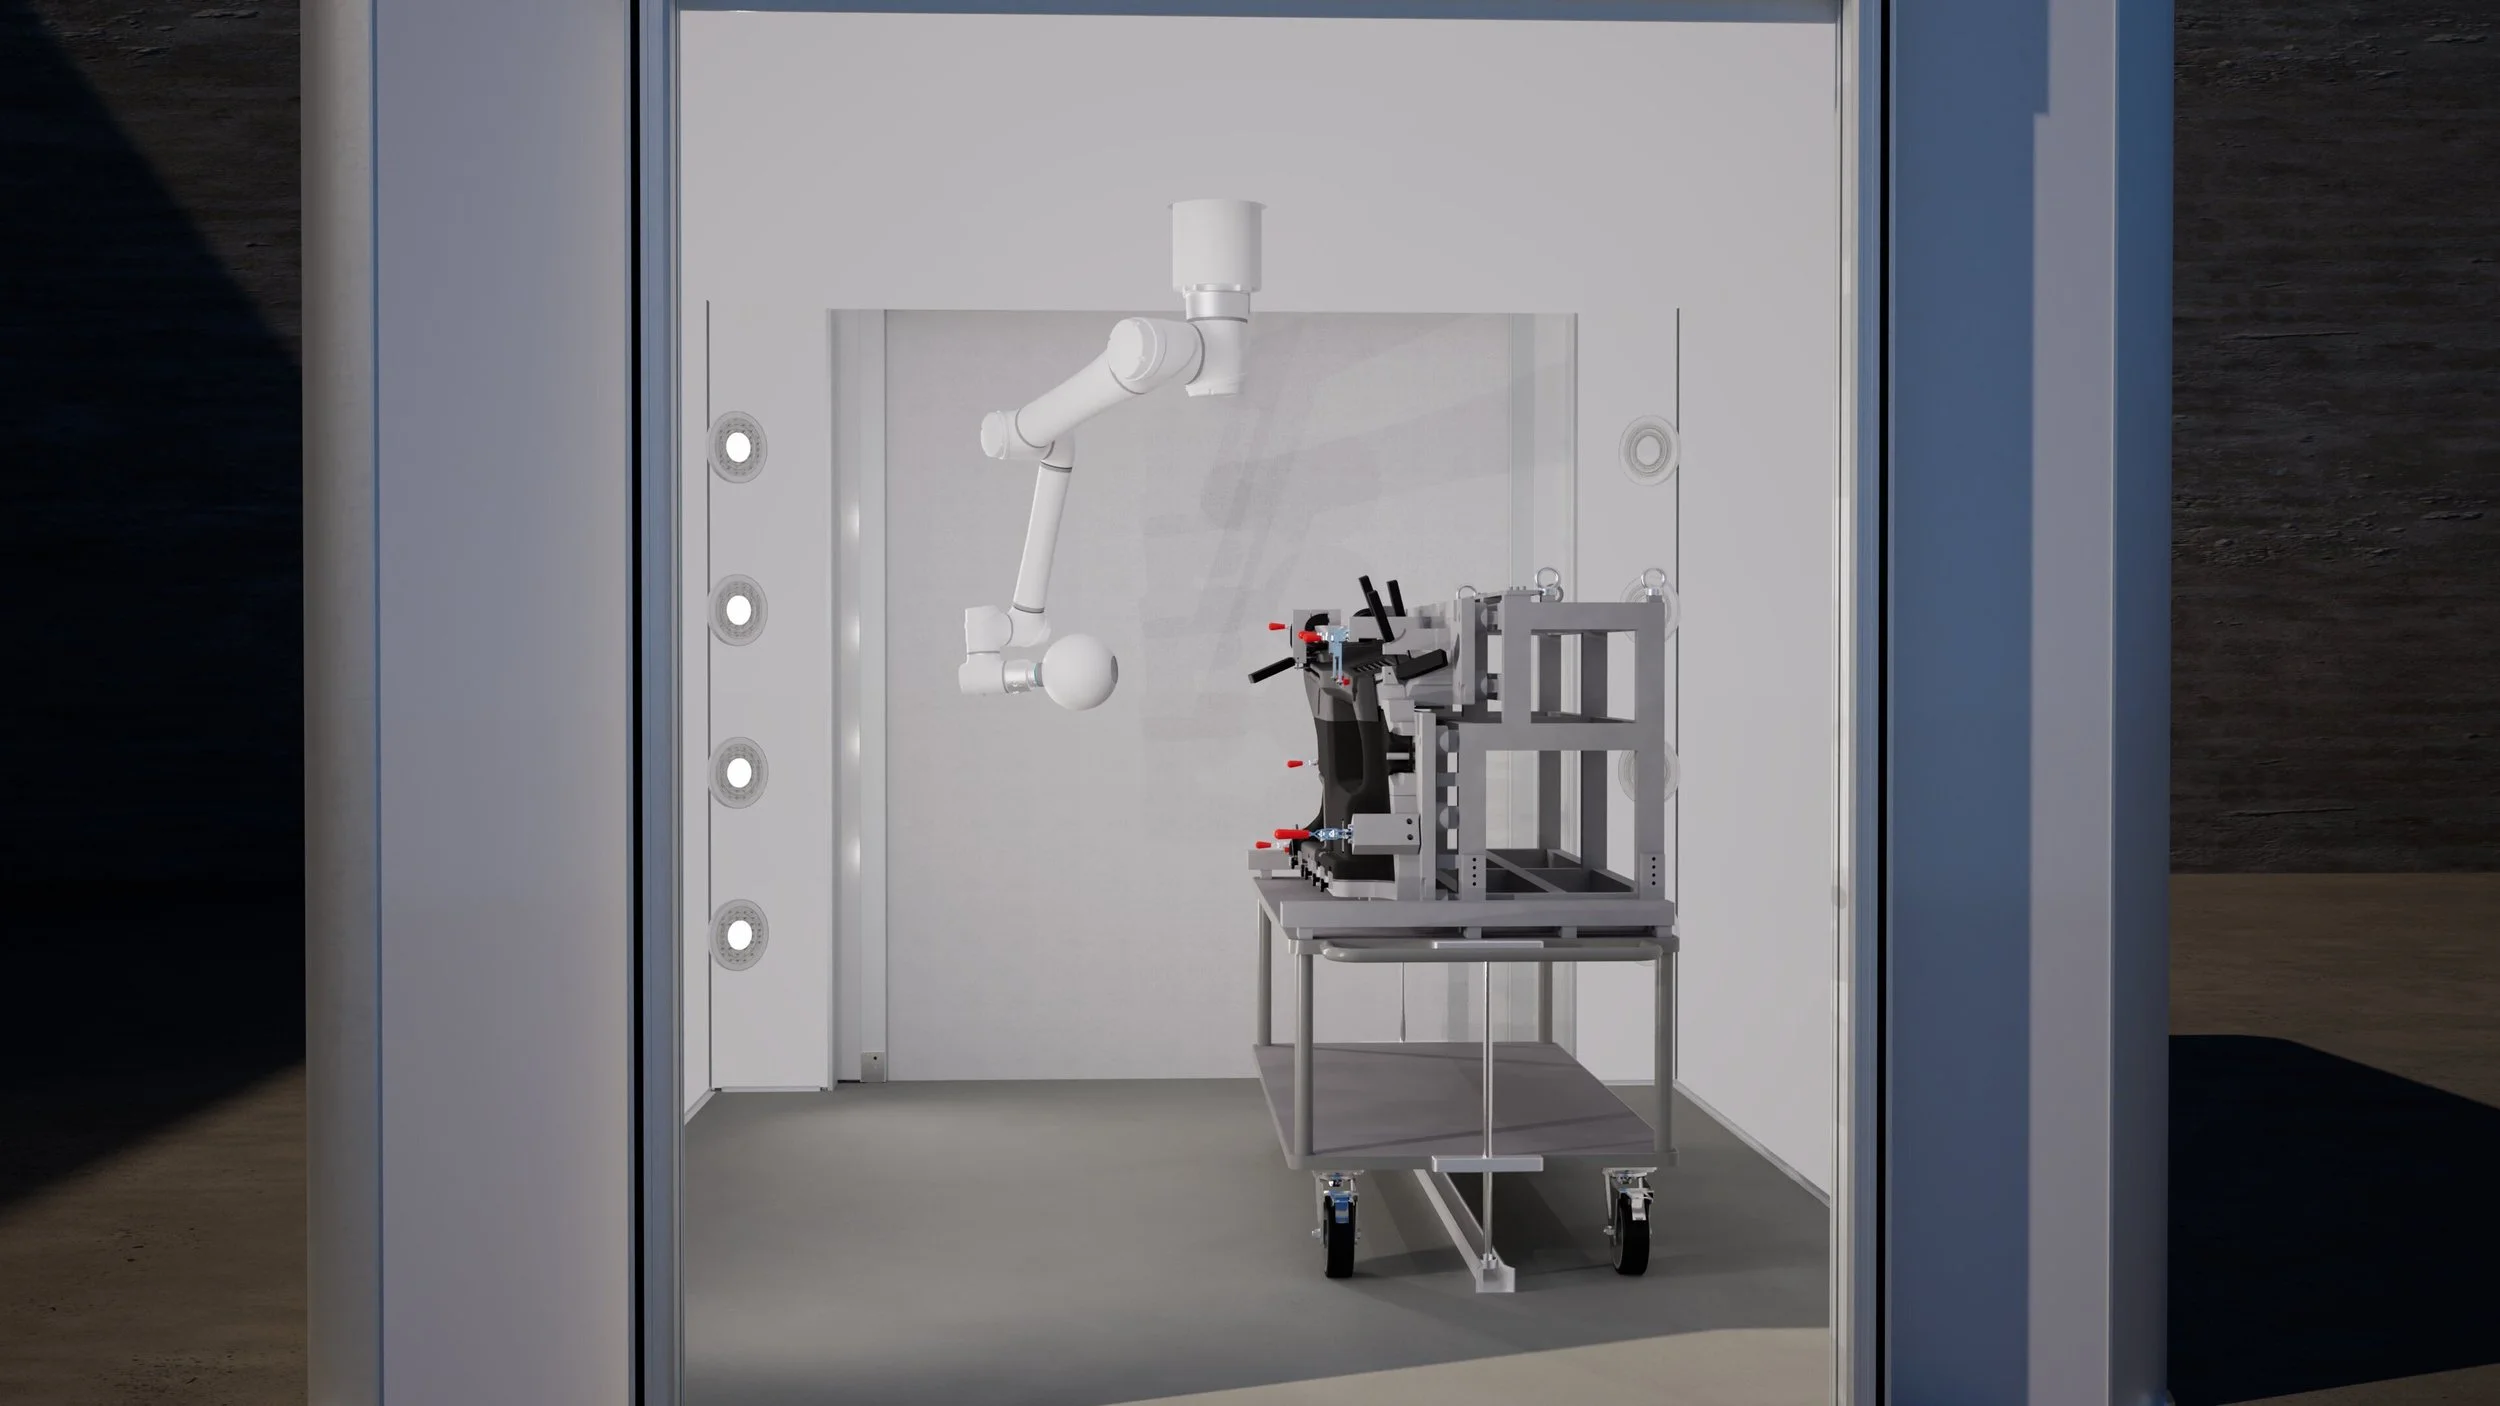
Solving the 3D inspection for the Factory of the Future is a challenge and we at GigaScan have been developing the ‘GigaScan 3D Vision’ with the intent to create a highly flexible automated inspection system.
Based on non-contact targetless Photogrammetry, it offers improved accuracy when compared to other metrology solutions, while including all the advantages that targetless photogrammetry provides.
For a professor on Sweden’s southwestern coast, this challenge wasn’t a frustration; it was an opportunity. Over 10 years of applied research, he set out to engineer a system capable of full-field, high-resolution inspection directly on the shop floor.
The result became something new for modern manufacturing: a surface-based photogrammetry platform that merges industrial robotics, fixed vision cameras, precision optics, and computational geometry into one automated measurement system.

A Master 3D Metrology expert specializing in non-contact measurement systems. With over 29 years of field experience, Patrik has transitioned from measuring the physical world to inventing the technology that perfects it.
Drawing inspiration from archaeology and geology; fields that reveal entire stories from surface patterns - we adapted those principles to industrial inspection. By capturing overlapping views and reconstructing 3D coordinates through triangulation, GigaScan can interpret the geometry of a fabricated part in fine detail, even in the middle of a busy production line.
Ten years of experimentation, calibration, and engineering refinement turned a research idea into a production-ready solution designed for the realities of modern manufacturing.


Located near a long-standing hub for precision engineering, we are surrounded by a legacy of technical excellence. Scandinavian design principles guide every aspect of our approach: clarity, reliability, and solutions that simply work.

We began with a professor’s ambitious idea. Today, GigaScan is deployed to help factories solve the very problem he first identified:
If you’re facing challenges in dimensional control, inline measurement, or automating your quality assurance workflow, we’d be glad to talk.
Our technology was built for engineers; and we welcome you to explore what it can do for your factory.
Tired of “close enough”? Let’s make perfect the new normal.